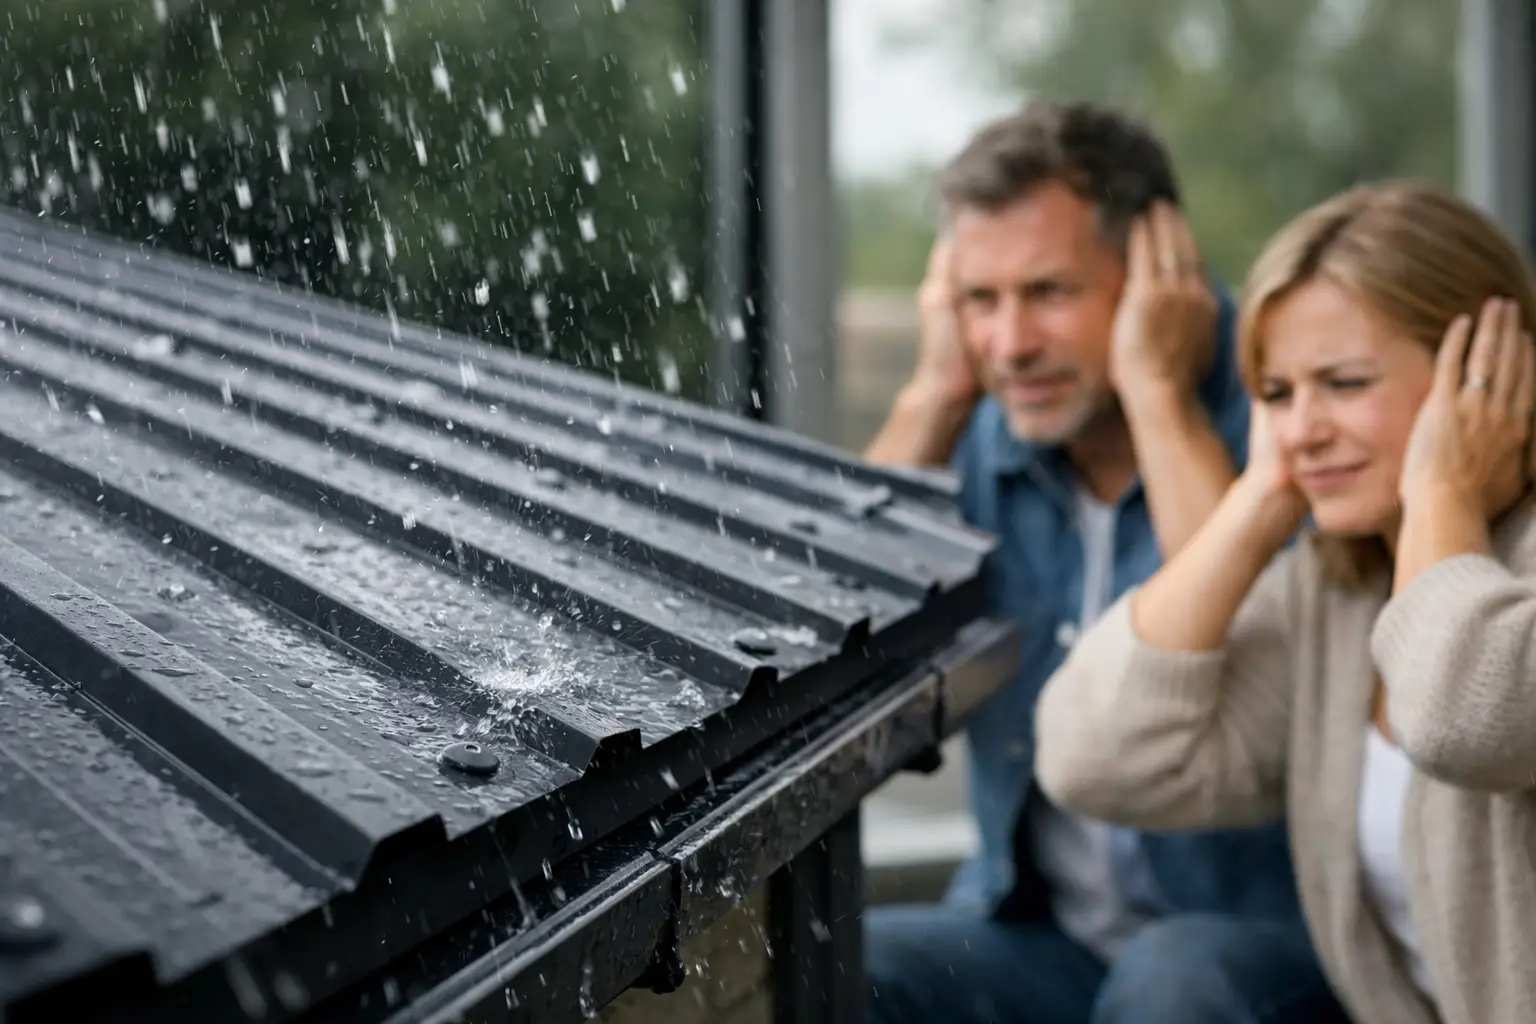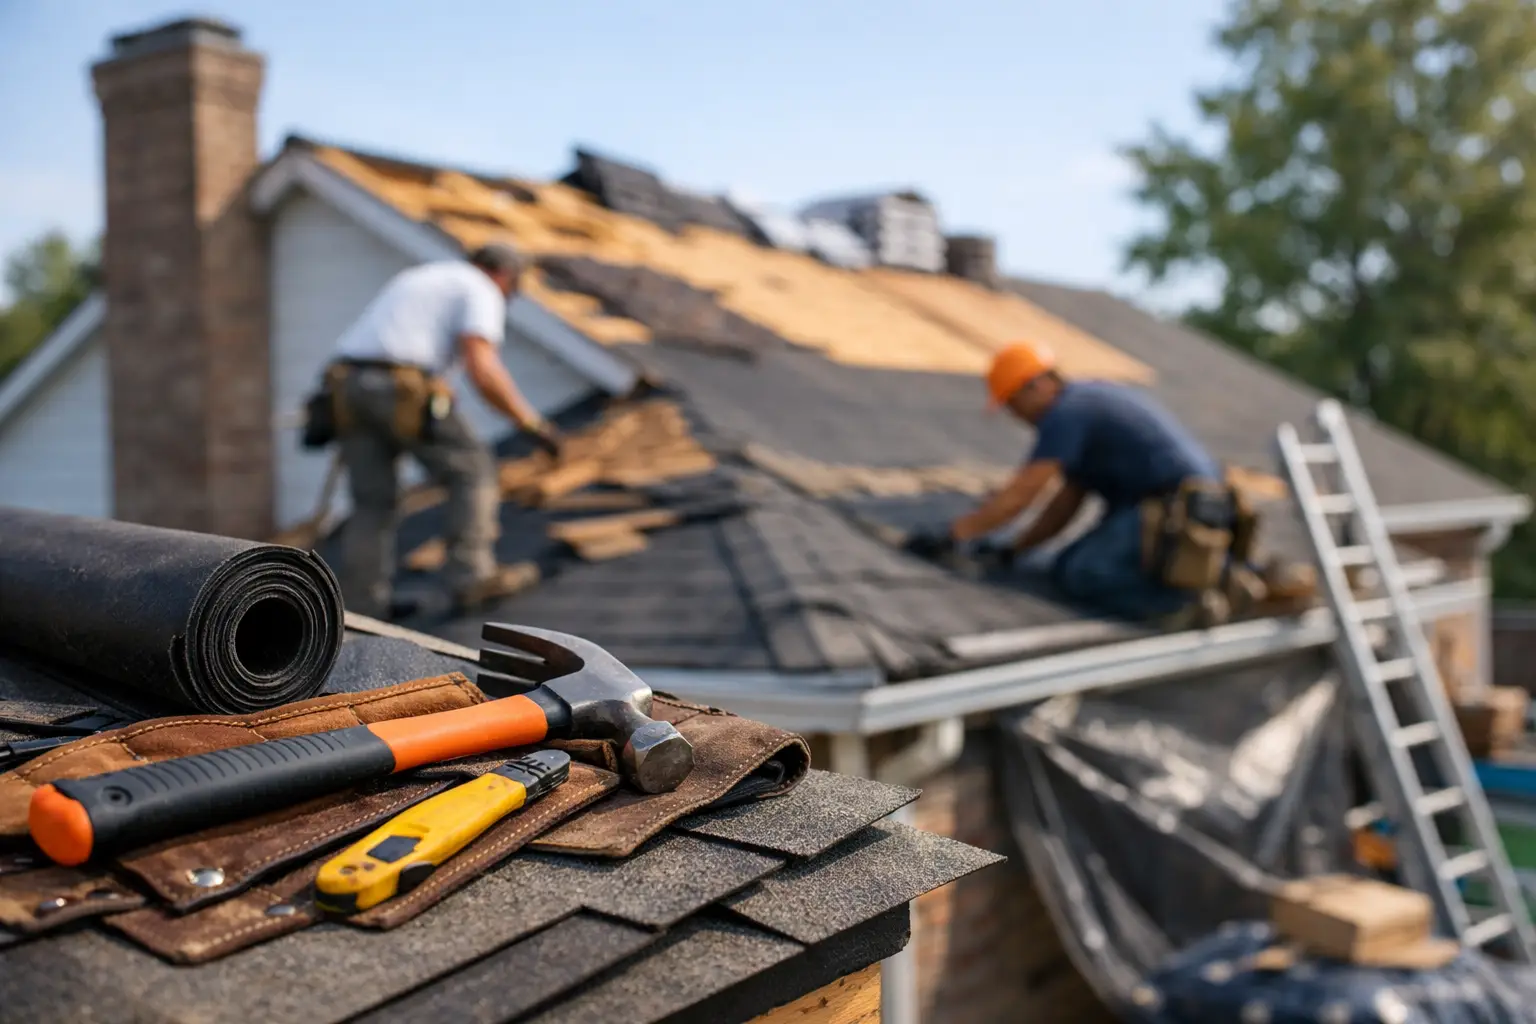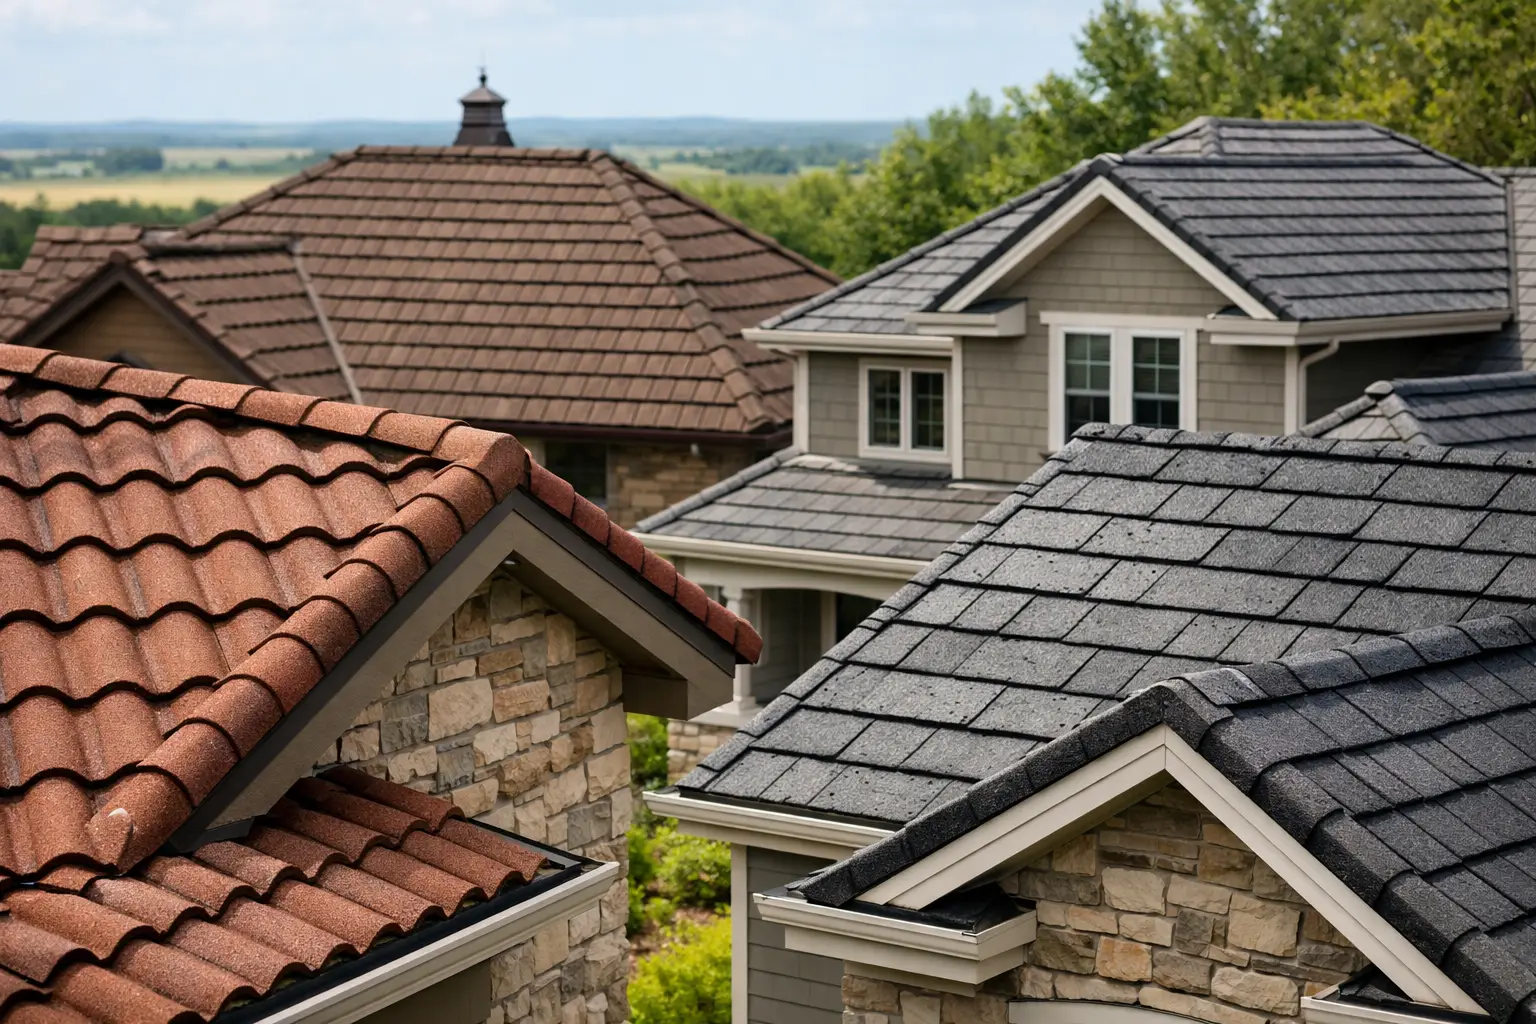
A stone-coated steel roof is not installed like a typical asphalt shingle roof. Every panel, fastener, flashing detail, and transition works together to create lasting protection. Understanding how to install stone coated steel roofing helps homeowners recognize why experienced installation matters, especially in Des Moines, where wind, snow, ice, rain, and temperature swings test a roof year after year.
Stone-coated steel combines the strength of steel with a textured, architectural finish that can resemble shingles, shake, slate, or tile. It is a premium system designed for long-term performance, but the material can only deliver that performance when it is installed as a complete, manufacturer-approved assembly.
Start With a Full Roof Assessment
Before a single panel goes on the roof, the existing structure needs a careful inspection. The installer should evaluate the decking for rot, soft spots, moisture damage, and uneven areas. Steel roofing panels need a solid, sound base. Covering damaged decking may hide a problem temporarily, but it can compromise the new roof from below.
The roof geometry also matters. Valleys, dormers, skylights, chimneys, wall intersections, and low-slope sections all require specific planning. A simple gable roof may allow for a straightforward layout, while a home with multiple elevations requires more detailed cutting, flashing, and sequencing.
This is also the right time to confirm whether the old roof will be removed. In some cases, local code, roof condition, and the selected stone-coated steel system may allow installation over an existing layer. In other cases, a complete tear-off is the better choice. Removing old materials gives the crew a clear view of the decking and makes it easier to correct hidden issues before the new system is installed.
Prepare the Decking and Underlayment
After repairs are complete, the roof deck must be clean, dry, and secure. Protruding nails are removed or driven flush, and damaged sheathing is replaced. This preparation is not glamorous, but it is foundational. A smooth deck supports proper panel alignment and reduces the risk of uneven finished surfaces.
Next comes the underlayment system. The right underlayment depends on the roof design, local code requirements, and the manufacturer’s installation specifications. In Iowa, ice and water protection is particularly important along eaves, valleys, and other areas prone to ice damming or wind-driven rain.
Underlayment overlaps must shed water correctly, and seams need careful attention. A roofing system is designed to manage water in layers. The steel panels are the first line of defense, while underlayment and properly installed flashings provide vital backup protection.
Ventilation Should Be Planned Before Panels Are Installed
A new roof is a good opportunity to evaluate attic ventilation. Heat and moisture trapped in the attic can contribute to condensation, reduced energy efficiency, and premature wear on roofing components. Intake ventilation at soffits and exhaust ventilation near the ridge must work together.
The exact ventilation approach depends on the home’s attic design, insulation levels, and existing vent openings. Simply adding more vents without a balanced plan can create problems rather than solve them. An experienced roofing contractor evaluates the entire roof and attic system before selecting ridge vents, intake vents, or other ventilation components.
Install Drip Edge, Valleys, and Flashings First
Metal roof panels cannot compensate for poorly installed edge details. Before the field panels are set, installers prepare the roof perimeter, valleys, and penetrations with the correct trim and flashing components.
Drip edge directs water away from the fascia and into the gutters. Valley metal channels water from two roof slopes into a controlled path. Step flashing at walls and counterflashing around chimneys help prevent water from working behind the roofing material. Pipe boots, skylight flashings, and other penetration details must be matched to the specific roof system.
This stage requires precision because it is difficult to correct once panels cover the area. Flashing should never be treated as an afterthought. Most roof leaks occur at transitions, not in the middle of a properly installed panel field.
How to Install Stone Coated Steel Roofing Panels
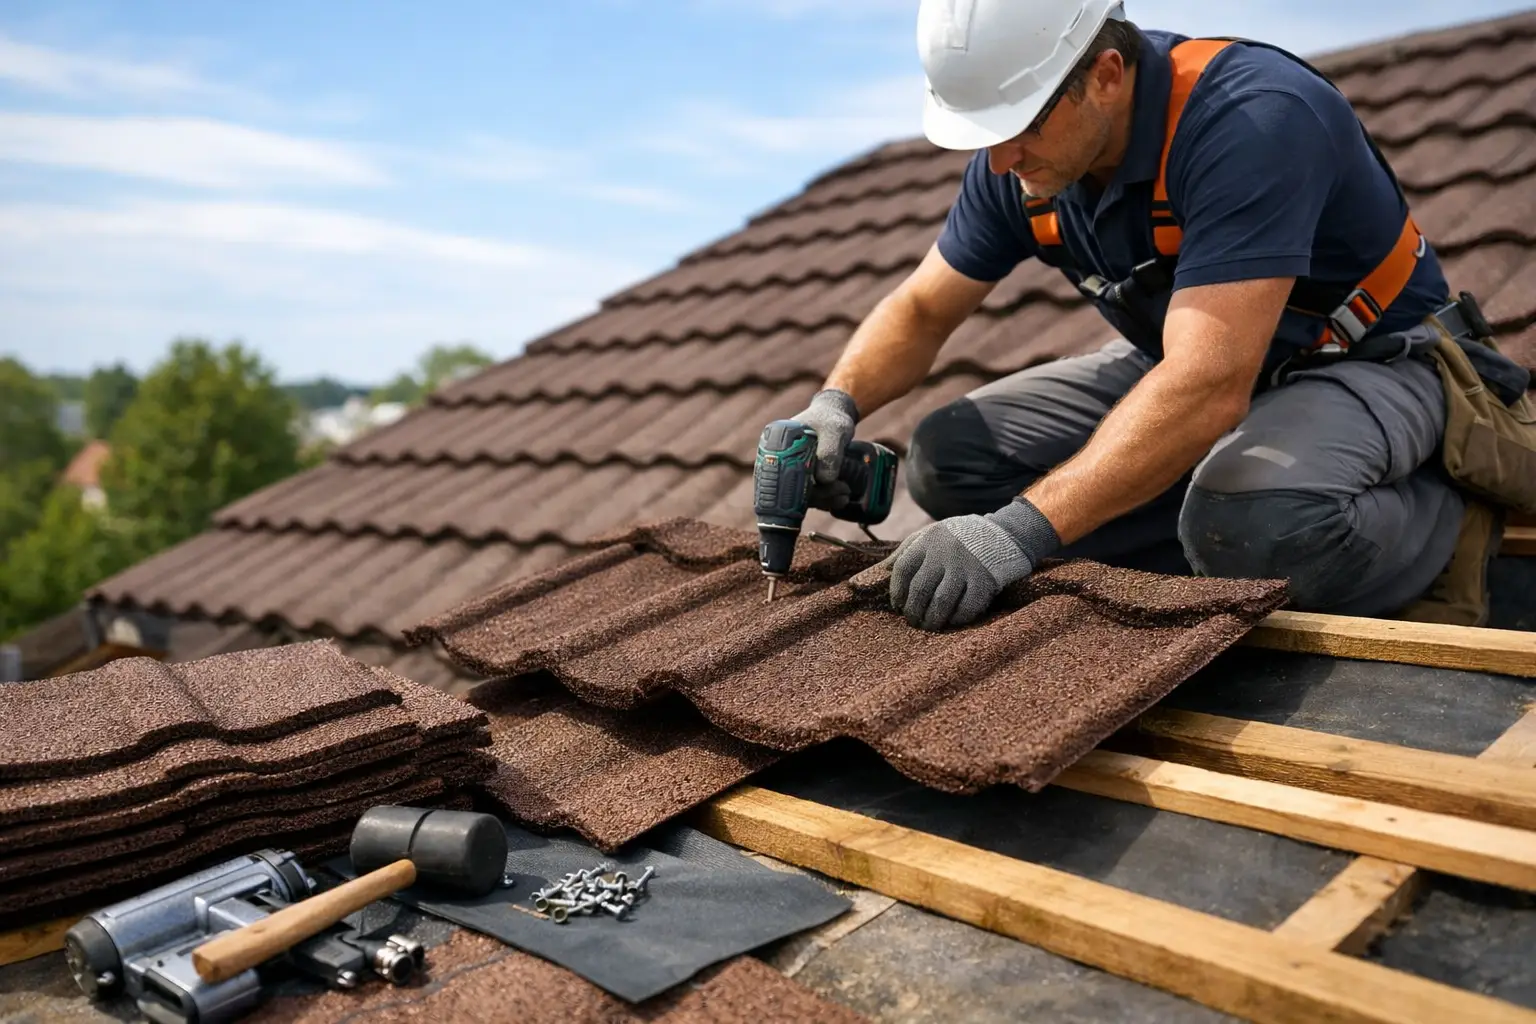
Stone-coated steel roofing panels are installed in a defined sequence based on the selected profile. Some profiles begin at the eave and work upward, while others use interlocking or batten-supported methods. The manufacturer’s instructions for the exact product always control the installation process.
Installers begin by establishing a straight, level starting line at the eave. This first course is critical. If it is out of alignment, every row above it can drift, creating uneven lines at ridges, valleys, and roof edges.
Panels are then placed with the required side laps and head laps. Their interlocking design helps create a wind-resistant surface, but only when each piece is seated correctly. Fasteners are installed at specified locations, using the correct type, length, and quantity. Driving a fastener too tightly can distort a panel; leaving it too loose can reduce holding strength and allow movement over time.
Panels are cut as needed around valleys, hips, chimneys, dormers, vents, and skylights. Cut edges should be handled according to the system requirements, including touch-up or protective treatment where applicable. Careful cuts improve both weather protection and curb appeal.
Pay Close Attention to Fastening Patterns
Fasteners are a small detail with a major job. A stone-coated steel roof is engineered to resist uplift and severe weather, but wind resistance depends on correct fastening throughout the installation.
The fastening pattern can vary by panel profile, roof slope, wind zone, and location on the roof. Perimeter areas, ridges, hips, and other high-wind sections may require additional fastening. A contractor should not guess or apply a one-size-fits-all pattern. The roof should be installed to the product specifications and applicable building code.
For homeowners, this is one reason to be cautious about comparing roofing quotes based on material cost alone. A lower price may not account for proper underlayment, flashing, deck repairs, ventilation, trim, or the labor required to install a premium steel system correctly.
Finish Hips, Ridges, and Roof Transitions
Once the main panel field is complete, installers finish the roof with hip caps, ridge caps, gable trim, and other profile-specific accessories. These components do more than create a finished appearance. They secure panel edges, protect exposed transitions, and support proper ventilation where ridge vent systems are used.
Ridge components must align cleanly and be fastened according to the system requirements. Hip and ridge areas see significant wind exposure, so precision matters. At roof-to-wall transitions, trim pieces and flashings should direct water outward rather than trapping it behind the panels.
A final walkthrough should include an inspection of all penetrations, roof edges, valleys, ridge lines, and gutter connections. The crew should also remove metal scraps, old fasteners, and debris from the property. Even a small piece of discarded metal can become a hazard in a driveway, lawn, or garden bed.
Why Professional Installation Protects Your Investment
A handy homeowner may be comfortable with basic repairs, but a full stone-coated steel roof installation is not a typical weekend project. The work involves fall protection, accurate layout, specialized cutting, detailed flashing, product-specific installation requirements, and an understanding of local building standards.
Professional installation also protects the value of the material itself. Manufacturer warranties may depend on approved installation methods, appropriate accessories, and proper ventilation. Choosing a contractor with experience in premium steel roofing helps ensure the roof is built as a system, not assembled as a collection of parts.
At Guardian Roofing, the goal is to help homeowners choose protection that fits their home, their style, and the demands of Midwest weather. A free roof evaluation can identify whether stone-coated steel is the right long-term option and clarify the details that should be included in a complete installation proposal.
The best roofing decision starts with clear information and ends with a system you can trust when the next heavy rain, winter storm, or high-wind day arrives.